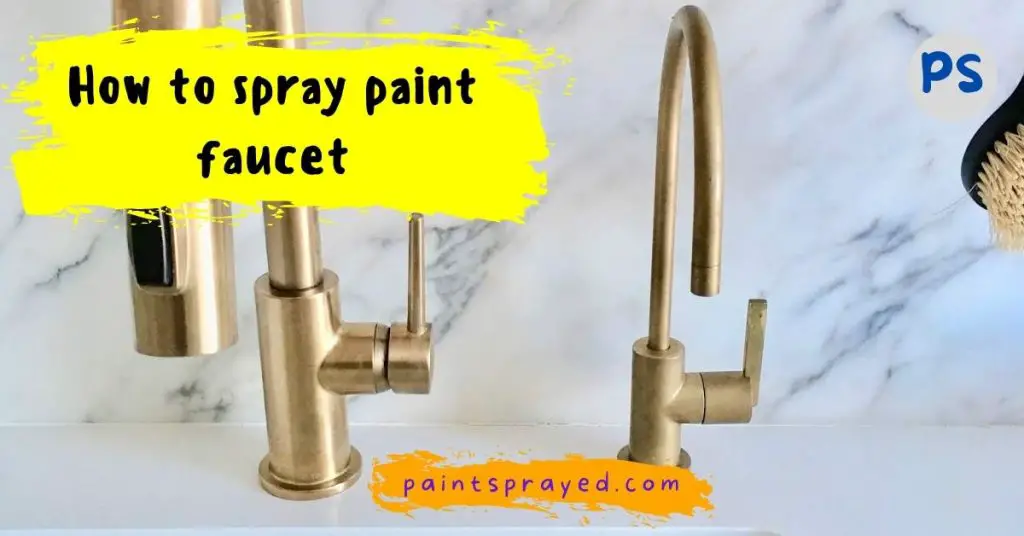
Today In this guide I will teach you the whole process to spray painting faucets at home with satisfactory results and eye calming look.
Newbies should follow each step because this guide is best for those newcomers who were confused to spray painting faucets without messing it up.
Follow all the steps explained in this guide.
Well, you can actually spray paint your faucet and it really does look absolutely beautiful.
One thing to keep in mind is that the difference between metallic spray paint and an original ORB faucet is virtually indistinguishable.
If you don’t have enough money to buy a completely new unit, update your sink with a color like gold, or copper.
Or brass shades via spray paint is an excellent alternative for a more contemporary look.
Spray painting is a fast and simple way of touch-ups or adding new splash shades to your faucet.
You do not need to be an expert to spray paint the faucets. You just need to know how to hold the spray painter and how to spray it on the faucets.
Here are some easy steps you can follow to spray paint the faucets:
How to spray paint faucet?
Complete Prime procedure
Prime the surface of the faucet with sandpaper or steel wool before spray painting, which will help the surface of the faucet from being damaged.
If your sandpaper, use 220 grit sandpaper, and first use sandpaper to the faucet surface, and then use 400 grit sandpaper.
Spray painting process
The best way to paint a faucet is by using metallic spray paint.
For the best outcome, we recommend you wait 48 hours before applying a second coat.
And always carefully read the directions so that you don’t accidentally ruin your kitchen or bathroom sink.

Once your spray paint has dried, it’s a good idea to take off any tape you may have placed over the nozzle so that both halves fit together and flush again once they’ve been reassembled.
The last step is to wait several days for everything to cure completely before spraying your new faucet with water and using it normally.
Prepare the faucet surface for the spraying process
Preparing the surface of the faucet before spray painting can help the manufacturer to obtain a better-quality product and enhance the effect of the decoration.
Below are some instructions to prepare the surface of the faucet:
- Clean the metal surface with a metal brush and sandpaper, the surface must be smooth and clean;
- Powder coat: Prepare the coating liquid according to the product specifications, after coating, the metal must be dried naturally, until the surface is fully dried, such as the metal can be firmly fixed.
- The surface of the metal must be clean, if it is not clean, it is better to first use sandpaper to go over the surface, and then clean the metal surface with detergent or vinegar, etc. After cleaning, the surface must be cleaned with sandpaper to give special treatment.
- Paint: After the surface is cleaned, you can spray the paint directly to achieve the effect of the spray, such as the coating method of the metal paint is usually applied, especially for the spray paint of the metal products.
Short steps to spray paint faucet
Spray painting faucets is a fairly easy process and here are some short steps to spray paint your faucets your own self at home with satisfactory results.
- The first step is to remove all the hardware from the faucet (if you choose to leave the hardware on the faucet, then you can skip stepping
- The next step is to clean the faucet thoroughly.
- Use a damp cloth to wipe off the remaining pieces of old paint and clean it with a solution of soap and water.
- Then take your faucet outside and mask it off so that no overspray will get inside your home.
- Be sure to wear a protective mask, and goggles and use a respirator to avoid getting paint on your body.
- Then spray paint one coat. Let it dry (about 20 minutes) and then spray a second coat.
- Let it dry for a day and then remove your masking paper and enjoy your painted faucet.
Can I spray paint a kitchen faucet?
Spraying paint on a kitchen faucet can be done, but it is not recommended as it may not adhere well and may not be durable enough for regular use.
Additionally, the paint may not be safe for contact with food or potable water. It is best to look for a faucet in the finish you desire or consider having a professional refinish the faucet.
Does spray painting bathroom fixtures last?
Spray-painting bathroom fixtures can last for a period of time, but they may not be as durable as the original finish.
Spray paint is not as resistant to chipping, fading, and wear as the finishes that are applied during the manufacturing process.
Additionally, moisture and heat in the bathroom can cause the paint to deteriorate more quickly.
If you decide to spray paint your bathroom fixtures, it is best to use a paint specifically designed for bathroom fixtures and to apply several light coats with proper curing time between each coat.
Even with that, the longevity of the finish will likely be shorter than the original finish.
Can I spray paint a chrome faucet?
It is possible to spray paint a chrome faucet, but it is not recommended as the paint may not adhere well to the smooth surface of the chrome and may not be durable enough for regular use.
The paint may also not be safe for contact with food or potable water.
Additionally, chrome is a finish that can be easily cleaned and maintain its shine, by spray painting it, you will lose that easy maintenance feature.
If you wish to change the color of your chrome faucet, it is best to look for a faucet in the finish you desire or consider having a professional refinish the faucet.
This will ensure that the finish is durable and safe for use.
How do you paint an old faucet?
To paint an old faucet, you will need the following materials:
- Sandpaper (220-grit)
- TSP (trisodium phosphate) or degreaser
- Clean rags or paper towels
- Primer specifically designed for metal
- Paint specifically designed for metal
- Clear coat (optional)
- Paintbrush or small roller
- Masking tape
- Drop cloth or plastic sheeting
Here are the general steps you can follow:
- Clean the faucet thoroughly with TSP or degreaser and a clean rag or paper towel. Make sure to remove all dirt, grime, and oil from the faucet.
- Sand, the faucet with 220-grit sandpaper to rough up the surface and remove any remaining dirt or grime. Wipe down the faucet with a clean rag or paper towel to remove any dust.
- Mask off any areas you do not want to paint, such as the handles or the valve stem.
- Apply a coat of primer specifically designed for metal, following the manufacturer’s instructions. Allow the primer to dry completely.
- Apply paint specifically designed for metal, using a paintbrush or small roller. Apply several light coats, allowing the paint to dry completely between each coat.
- Apply a clear coat (if desired) for added durability and protection. Allow the paint to dry completely.
- Carefully remove the masking tape and touch up any areas that may have been missed.
- Allow the paint to cure for a few days before reassembling the faucet and using it.
Please note that the longevity of the finish will likely be shorter than the original finish.
And it is important to use paint specifically designed for metal to ensure that the paint will adhere properly and will be safe for contact with food and potable water.
FAQ’s of How to spray paint faucet
Conclusion on How to spray paint faucet
This is the post that will eventually help you out in spray painting faucets in your home or for your clients ones.
Newbies should follow each step explained in this guide because this guide is a proper step-by-step guide to get a calming look from your work.
If you have any confusion in your mind then comment down here and I will help you out for sure.

Matthew Edward is a professional painter who loves to paint and wants to share useful tips and tricks which he had learned in many years of experience in painting. He also used many products that can be used for painting he has tried and tested each and every product to give an unbias opinion about it in his review. This blog is very useful for those newbies who want to learn painting without making mistakes.


