
In that comprehensive guide, we will delve into the step by step of process and use single-fold bias binding tape.
Single-fold bias tape is valuable for achieving neatness or adding decorative trims to your project’s fold. Its versatility makes it an essential tool in your sewing repertoire.
Alongside this, we will provide you with valuable tips and tricks to ensure impeccable results.
Some process
The process of applying bias binding involves folding and pressing the strip in half lengthwise, aligning the raw bias. The folded strip is then carefully stitched along the edge of the cloth, encasing the raw edge within the bias binding.
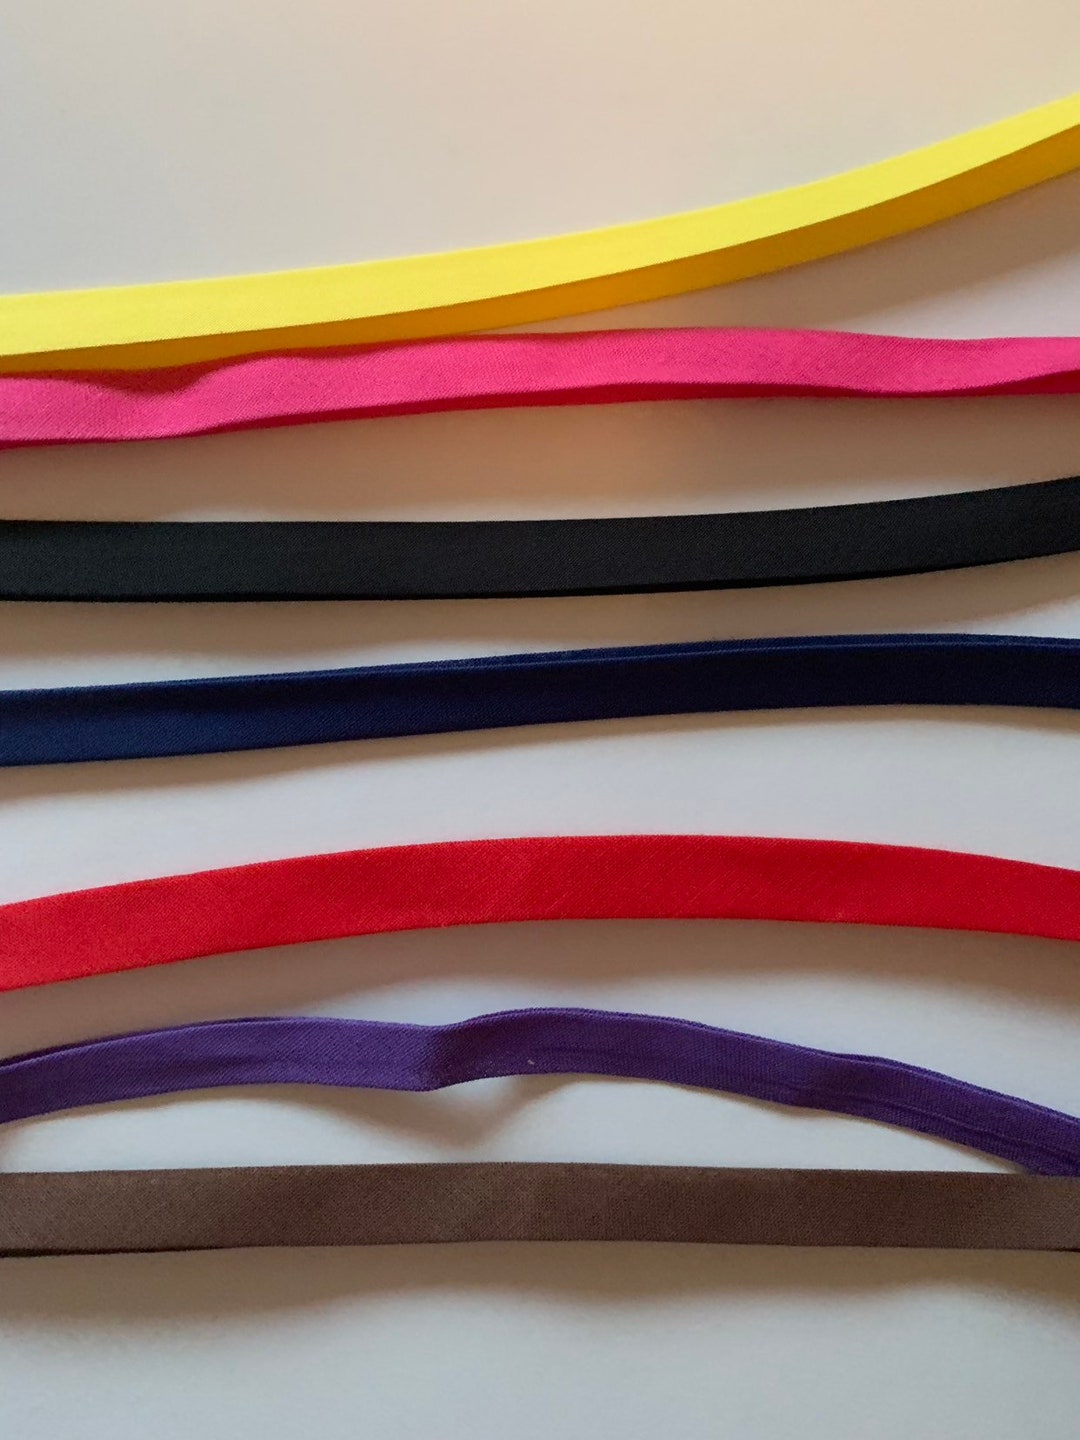
One of the advantages of bias binding is its ability to add contrasting colors, patterns, or textures to a project. Main clothes and bias binding can enhance the overall aesthetic and make a design stand out. Whether it’s a vibrant pop of color, a subtle touch of elegance, or a playful pattern, bias binding offers countless creative options.
Troubleshooting Common Issues
Puckering: if you notice puckering along the bias tape, try easing the cloth slightly as you sew bias tape to distribute any excess fullness.
Uneven stitching: To achieve even stitching, maintain a consistent seam allowance and sew bias tape slowly and steadily.
Of course, double-fold bias tape is difficult to teach, so you need to have a lot of experience.
Fraying fabric: if your cloth tends to fray, consider applying a small amount of fray check or fabric glue to the raw before attaching the bias tape.

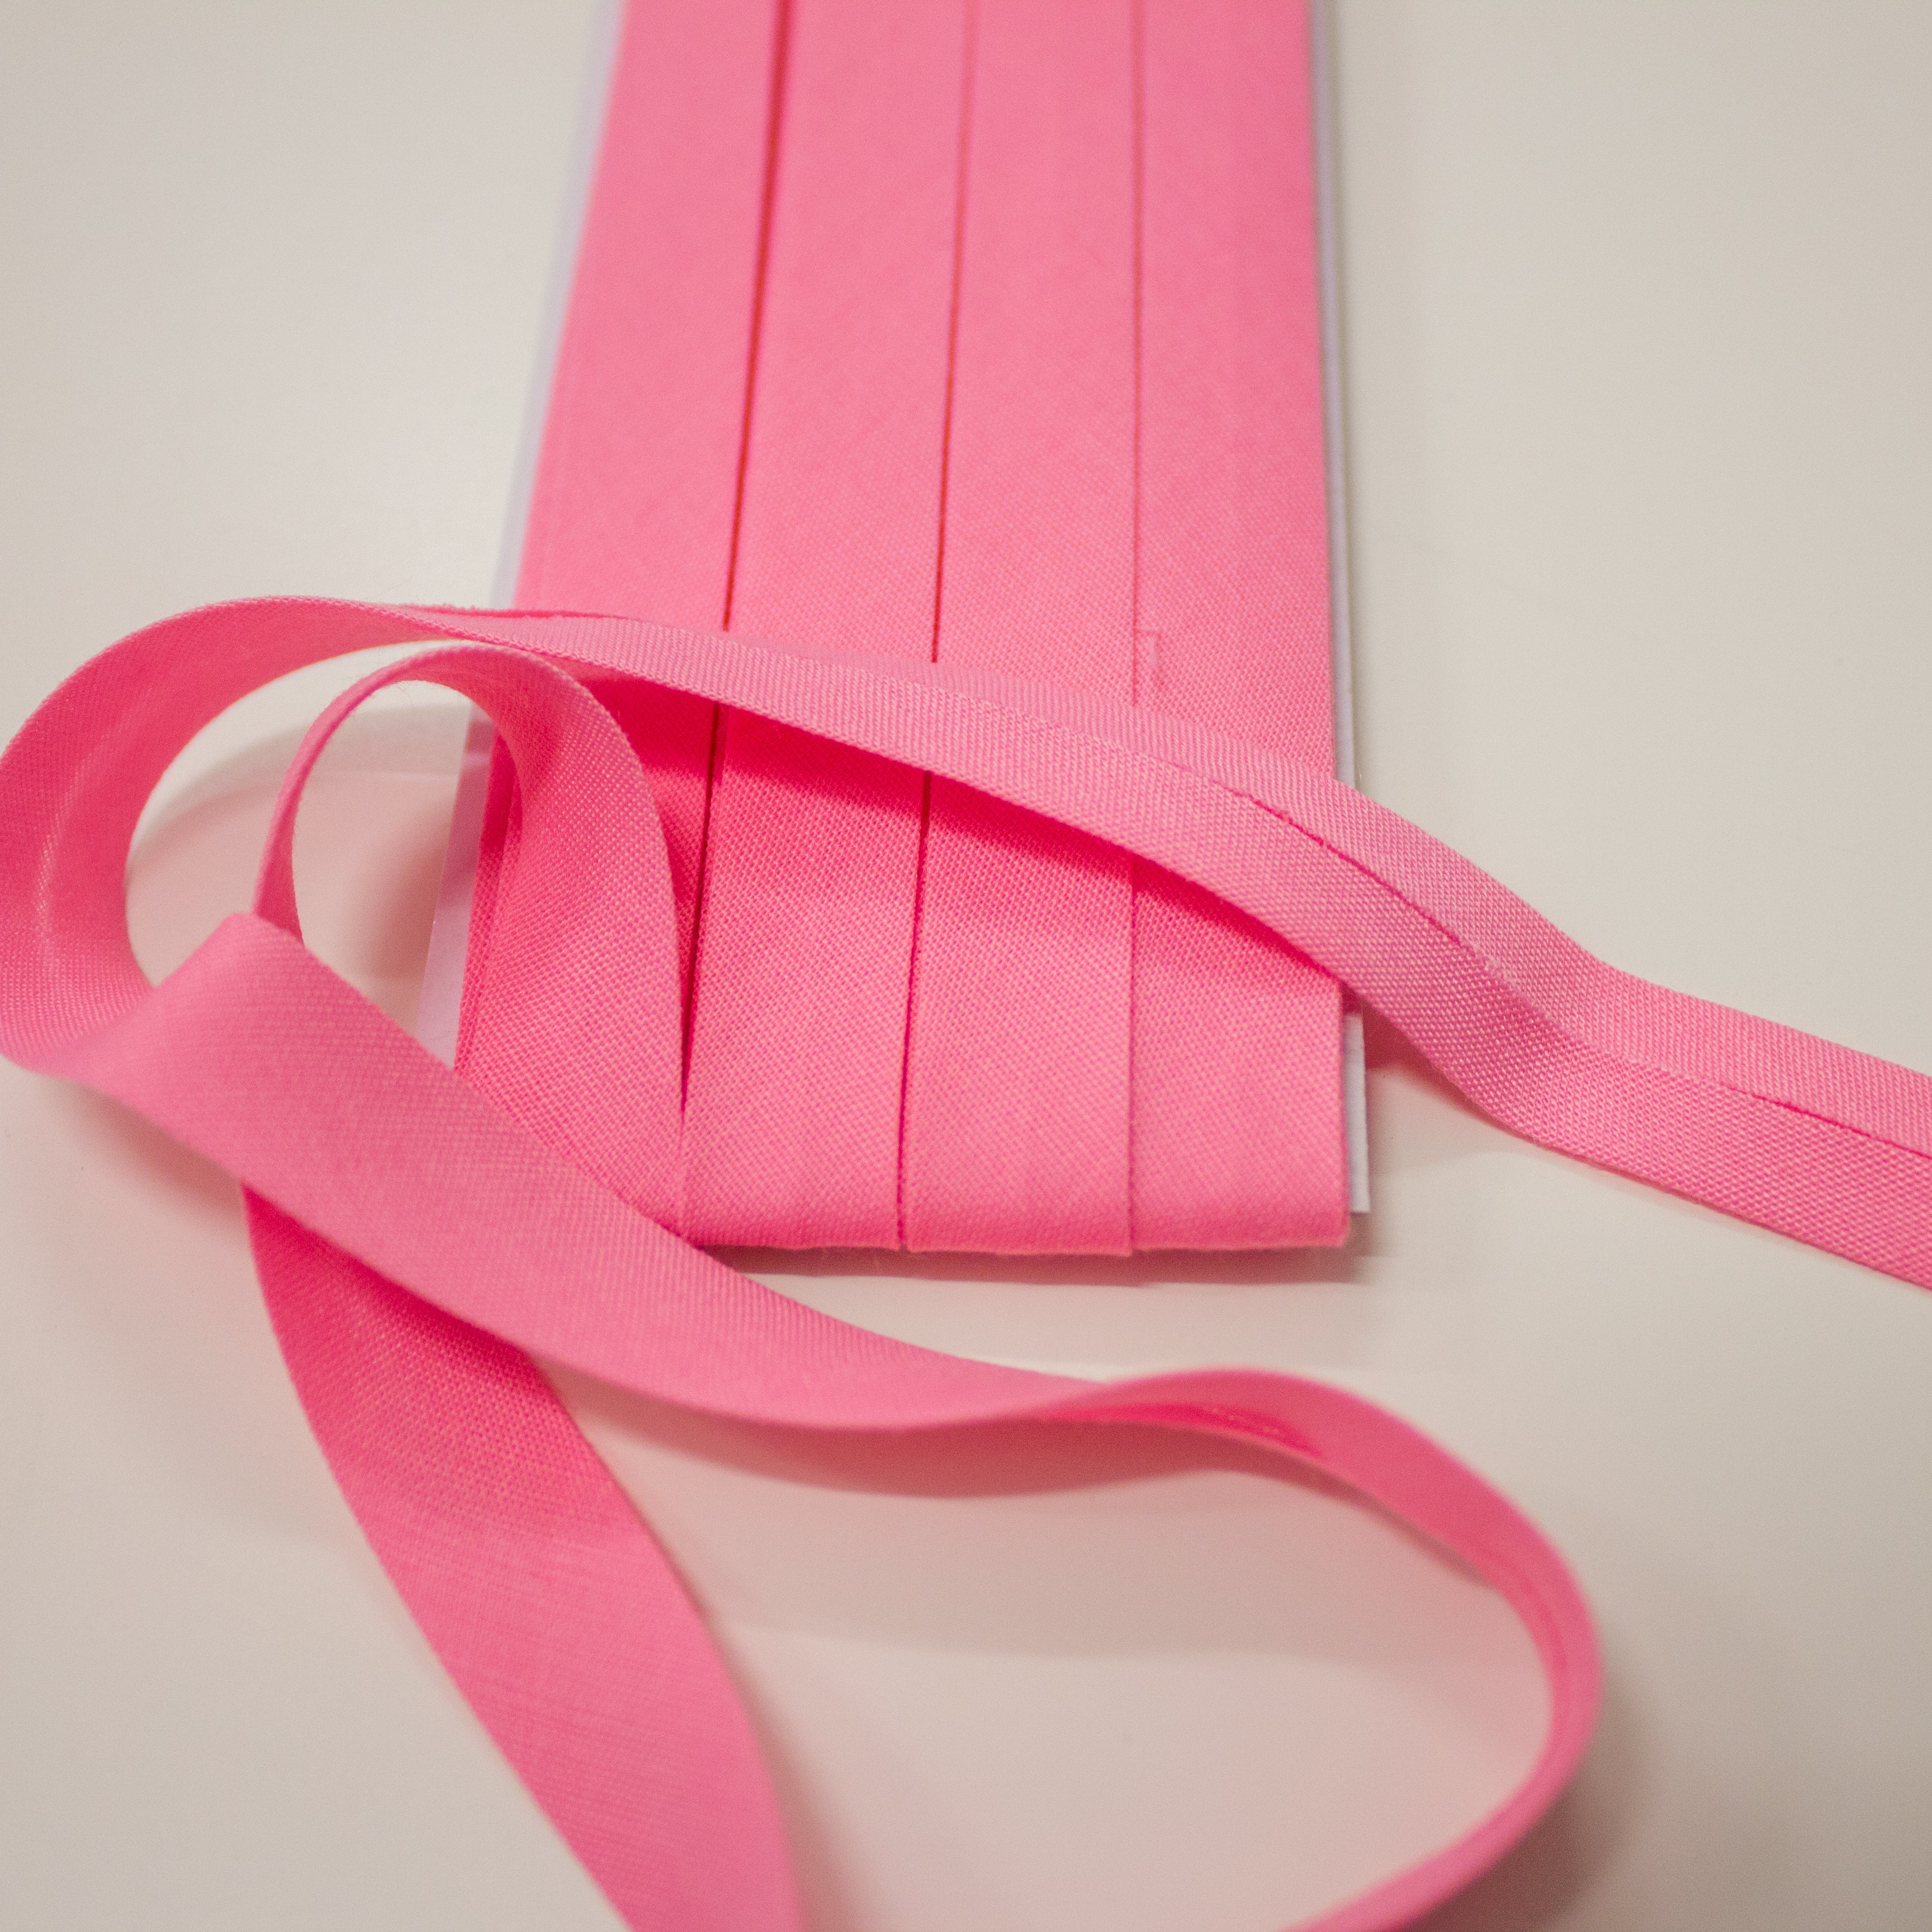
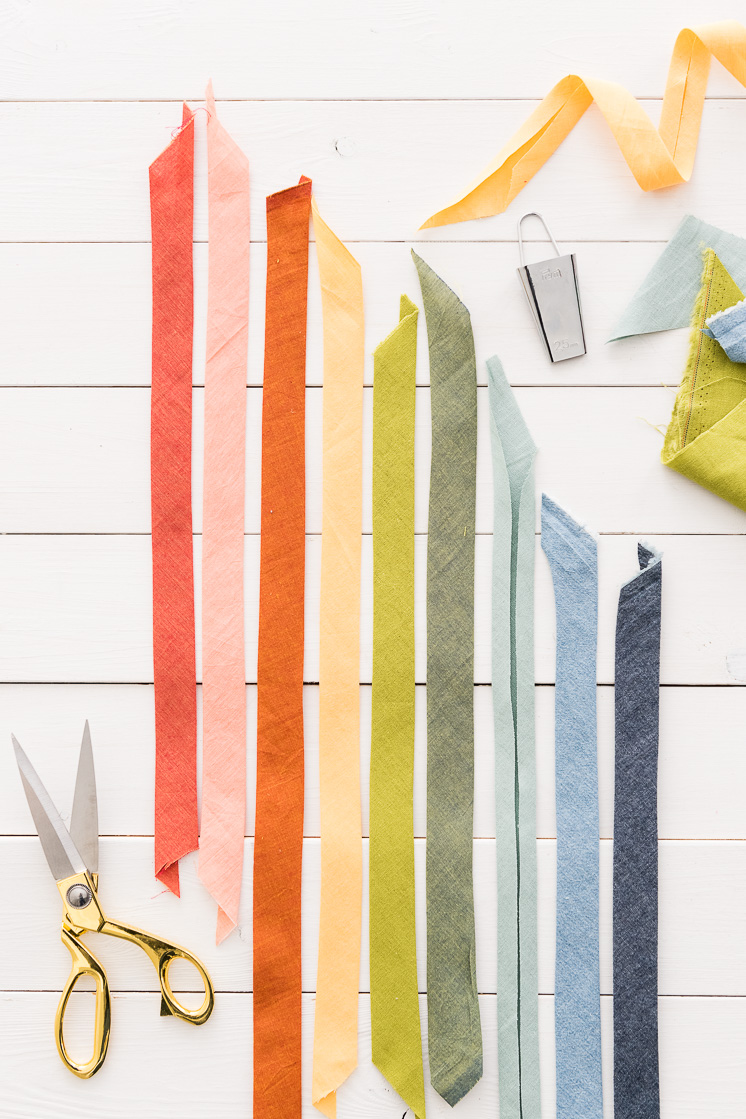
Measuring and Cutting Bias Tape
Determine the required length: Measure the edge you wish to bind with the bias tape. Add a few inches to account for corners and overlapping ends.
Width
The width is 1 inch (2.5 cm), but you can adjust it according to your preference.
Cut bias strips: use a ruler or mark the width on the side of the cloth at regular intervals. Connect the marks to form diagonal lines.
Calculate width: depend on some common widths of your bias tape.
Cut fabric along these lines to create single-fold tape or double-fold tape.
Preparing the Bias Tape
Trim the excess cloth and press the seam open. Repeat this process until you have a continuous strip of bias tape.
Join the fabric strips: take two bias strips and place them right side together at a 90-degree angle. Stitch diagonally from one corner to the other.
Strips types
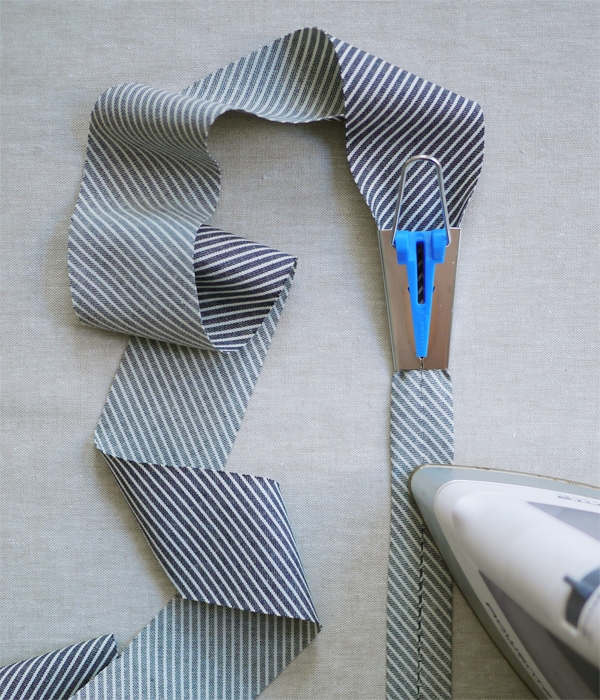
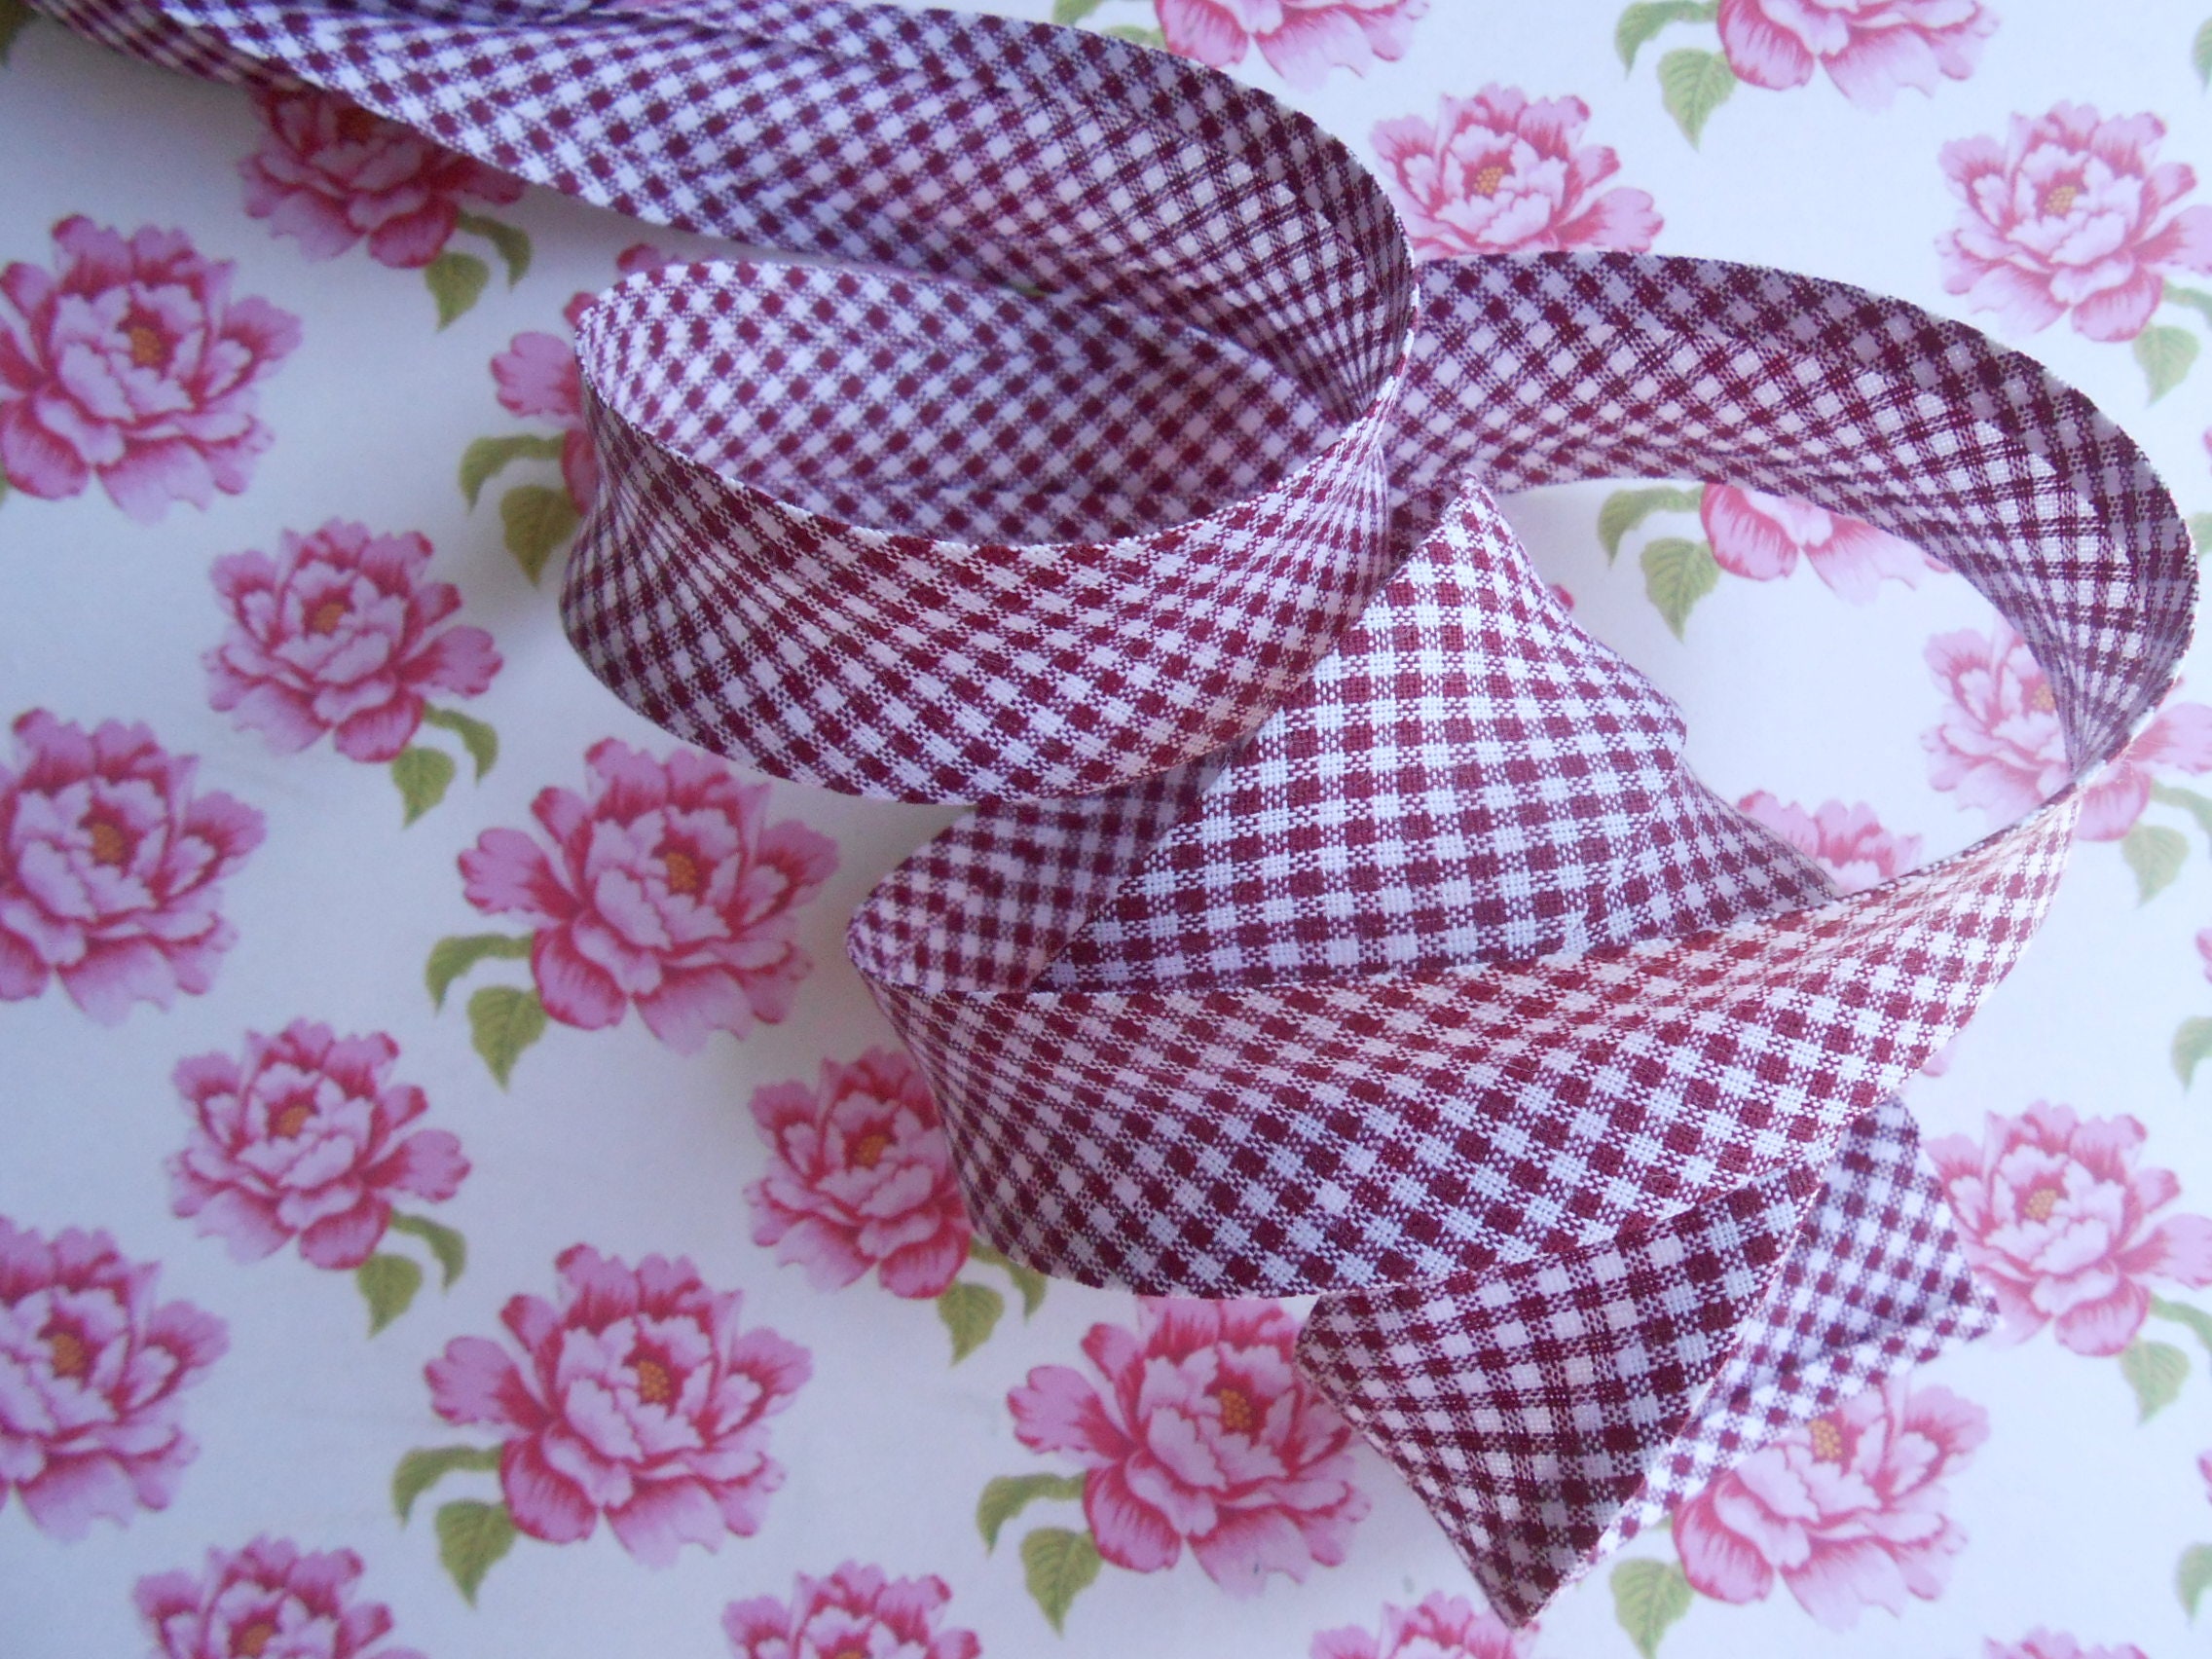
Use iron press single fold firmly. That will create a crease along the center of the tape.
There also can be different types of strips. To cut strips you need to know what it is. It can be a long strip, and cut strips or even cut edge become more difficult for you. Always with long strip, there are long edges, and sometimes it can be straight edges.
Double-fold bias tape
There can be on every surface, but you/ always need to fix them. If you find some fold or some double fold, it looks very irritative, so you need to fix it. Some fold can be very little, but when we speak about the double fold, it only makes the situation bad for your sewing projects.

How can it look like
Craft a set of reversible fabric coasters, bias binding, and sew bias tape with bias binding to ensure durability and a tidy appearance.
Design a chic tote bag with bias binding along top sew bias tape and handles, providing durability and a polished finish.
Embellish a common dress using a bias binding to finish armholes, and hem, adding a delightful pop of color.
Make a cozy baby blanket using bias binding to neatly and finish sew bias tape, creating a soft and charming border.
Some design
Fashion a summery sun hat, using bias binding to finish the brim, providing structure and a delightful contrast.
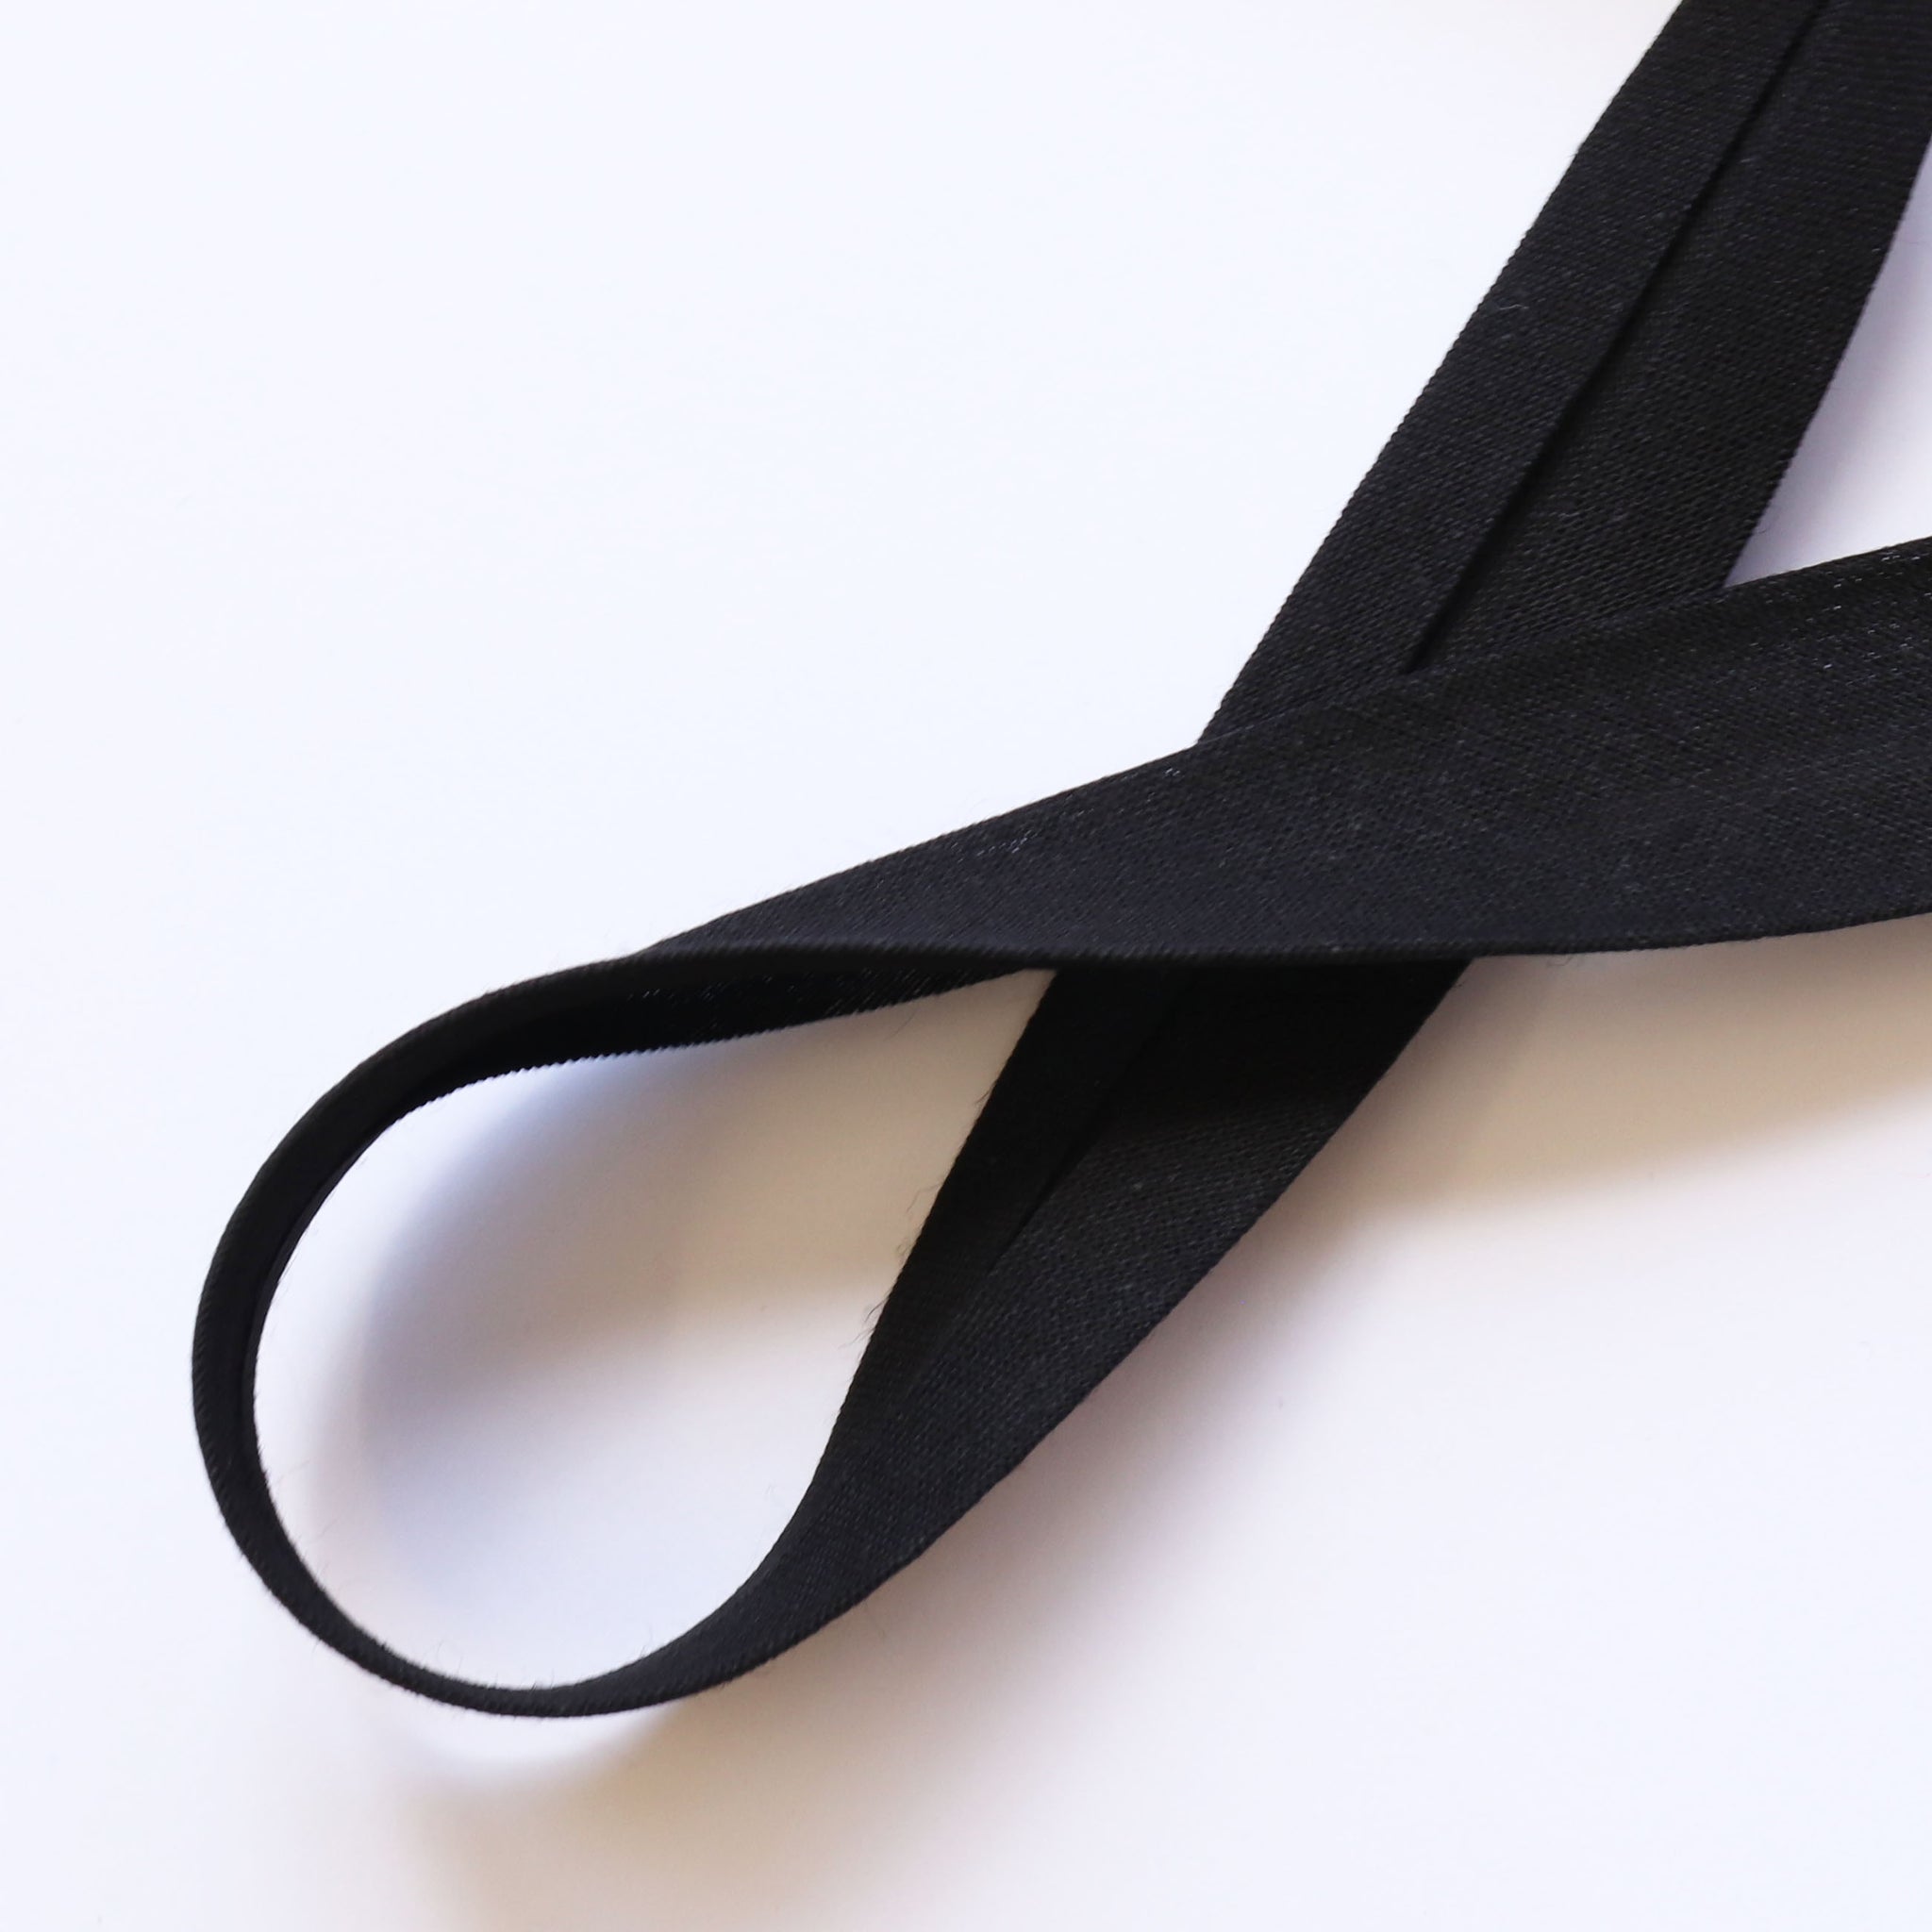
Bias tape comes in two types: use, single-fold bias tape, and double-fold tape.
Design a quilted potholder set, bias binding, and sew bias tape with bias binding, and add a touch of elegance and protect your hands from hot cookware.
Construct a decorative pillow cover, apply bias binding, and sew bias tape to create a tailored and professional look.
Sew a playful apron with bias binding along the neckline and waistline, and sew bias tape, infusing it with a delightful and personalized touch.
When we speak about design, be careful with bias binding.

Functional purpose
In addition to its decorative potential, bias binding also serves a functional purpose.
Bias binding can be used in any application, from clothing and accessories to quilting and home decor projects. In quilting, bias binding can beautifully finish the bias binding of quilts, table runners, and placemats, highlighting intricate patterns and designs.
With its versatility and practicality, bias binding shines as a fundamental sew bias tape technique. So whether you’re seasoned sew it or just starting your, and sew bias tape journey, don’t hesitate to embrace bias binding and explore. Let your imagination run wild, and incorporate bias binding into your next project to charm and elegance firsthand. Yes, bias binding and utilized time again.
Bias binding is sew bias tape dream comes true. Its ability to add that perfect finishing touch and elevate any project is unparalleled. Whether you are working on a delicate blouse, a cozy quilt, or a decorative pillow, bias binding can be your go-to solution.

Understanding Bias Tape Before we dive into the sewing process, let’s first understand what bias tape is.
Sewing single-fold bias tape.
That allows the curves tape to have stretch and flexibility, making it ideal for finishing curved edges.
Tape is a strip of cloth cut on the bias binding, which means it is cut at a forty-five-degree angle to the cloth’s straight grain.
Materials and Tools To get started, gather the following materials and tools:
Rotary cutter or scissors: To cut the stretch cloth.
Fabric: choose a lightweight or medium-weight some cloth in a color that complements your project.
Interesting materials
Aalthough you can also sew bias tape by hand if desired.
Iron: For press the bias tape.
Sewing machine: a bias tape maker will suffice.
Matching thread: select one that matches the color of your bias tape or cloth.

What about some tips?
Begin by identifying the raw border of your fabric. These are the unfinished border enclosed with the bias tape. Ensure that your fabric cut straight and any necessary seam allowances are added.
Sewing single-fold bias is a great way to finish fabric edge and add decorative trims to your sewing projects.
Start by preparing your materials. You’ll need single-fold bias tape, which bias-cut cloth strips with a single fold. Bias tape comes in various widths, such as 7/8-10 or 1/2-3 inches, and you can choose the width that suits your project. Additionally, gather your sewing machine, pins, and scissors.
Whether you’re working on garments, accessories, or home decor items, single-fold bias can provide a clean and professional-looking finish. Let’s walk through the steps of sewing single-fold bias tape:
How to sew bias tape
Bias binding is a fantastic addition to any sew bias tape enthusiast’s repertoire. With its inherent stretch and flexibility, bias binding effortlessly conforms to curves and contours, providing a clean and professional look.
Fold, some press: single fold tape the bias tape in half, but wrong sides together.

Edges and problems with it
That time very great will be a bias tape. Such double-fold bias tape makes your work much easier for such surfaces.
Because it has single-fold bias and it hard to sew bias tape.
Sometimes when you try to cut fabric, you see the edge stitch or raw edges that make your work very bad.
Using double-fold bias tape, you have more time and do it without any hard.Try to do it near the crease closest tape.

Bias binding
Bias binding is a versatile and practical technique used in sew bias tape and crafting projects to finish sew bias tape, add decorative accents, and create beautiful, polished finishes.
Tips for bias binding
Sew a set of stylish placemats and finish the sew bias tape with bias binding in coordinating or contrasting shades, elevating your table setting.
Bias binding is a versatile sew-bias tape technique that can use in projects. Let’s explore ten creative ways to incorporate bias binding into your next sew bias tape endeavor:
Create a charming quilt with bias binding accents on the sew bias tape of each patchwork block, adding a touch of color and definition.

Applying the Bias Tape
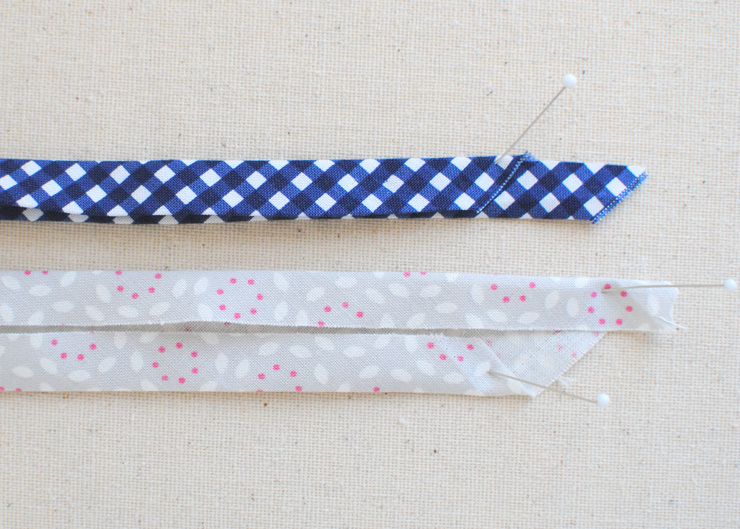
Pin or baste the tape: open the bias tape and align the raw edges or just the edge of the cloth with the raw edge of the bias tape, right sides together. Pin or baste the tape along the edge or edges, securing it in place.
Sewing process
Pivot the cloth, lift the press foot, and fabric to continue to sew bias tape along the next edge. Repeat this process for all corners.

Sew bias around corners: when you approach some corner / stop stitching a few stitches before reaching the edge or finish edges.
Sew bias first side: your sewing machine’s zipper foot or bias tape foot. Starting at one end, stitch along the crease line, sure to catch both sides of the bias tape. Continue to sew bias tape until you reach the corner.
Finish your work
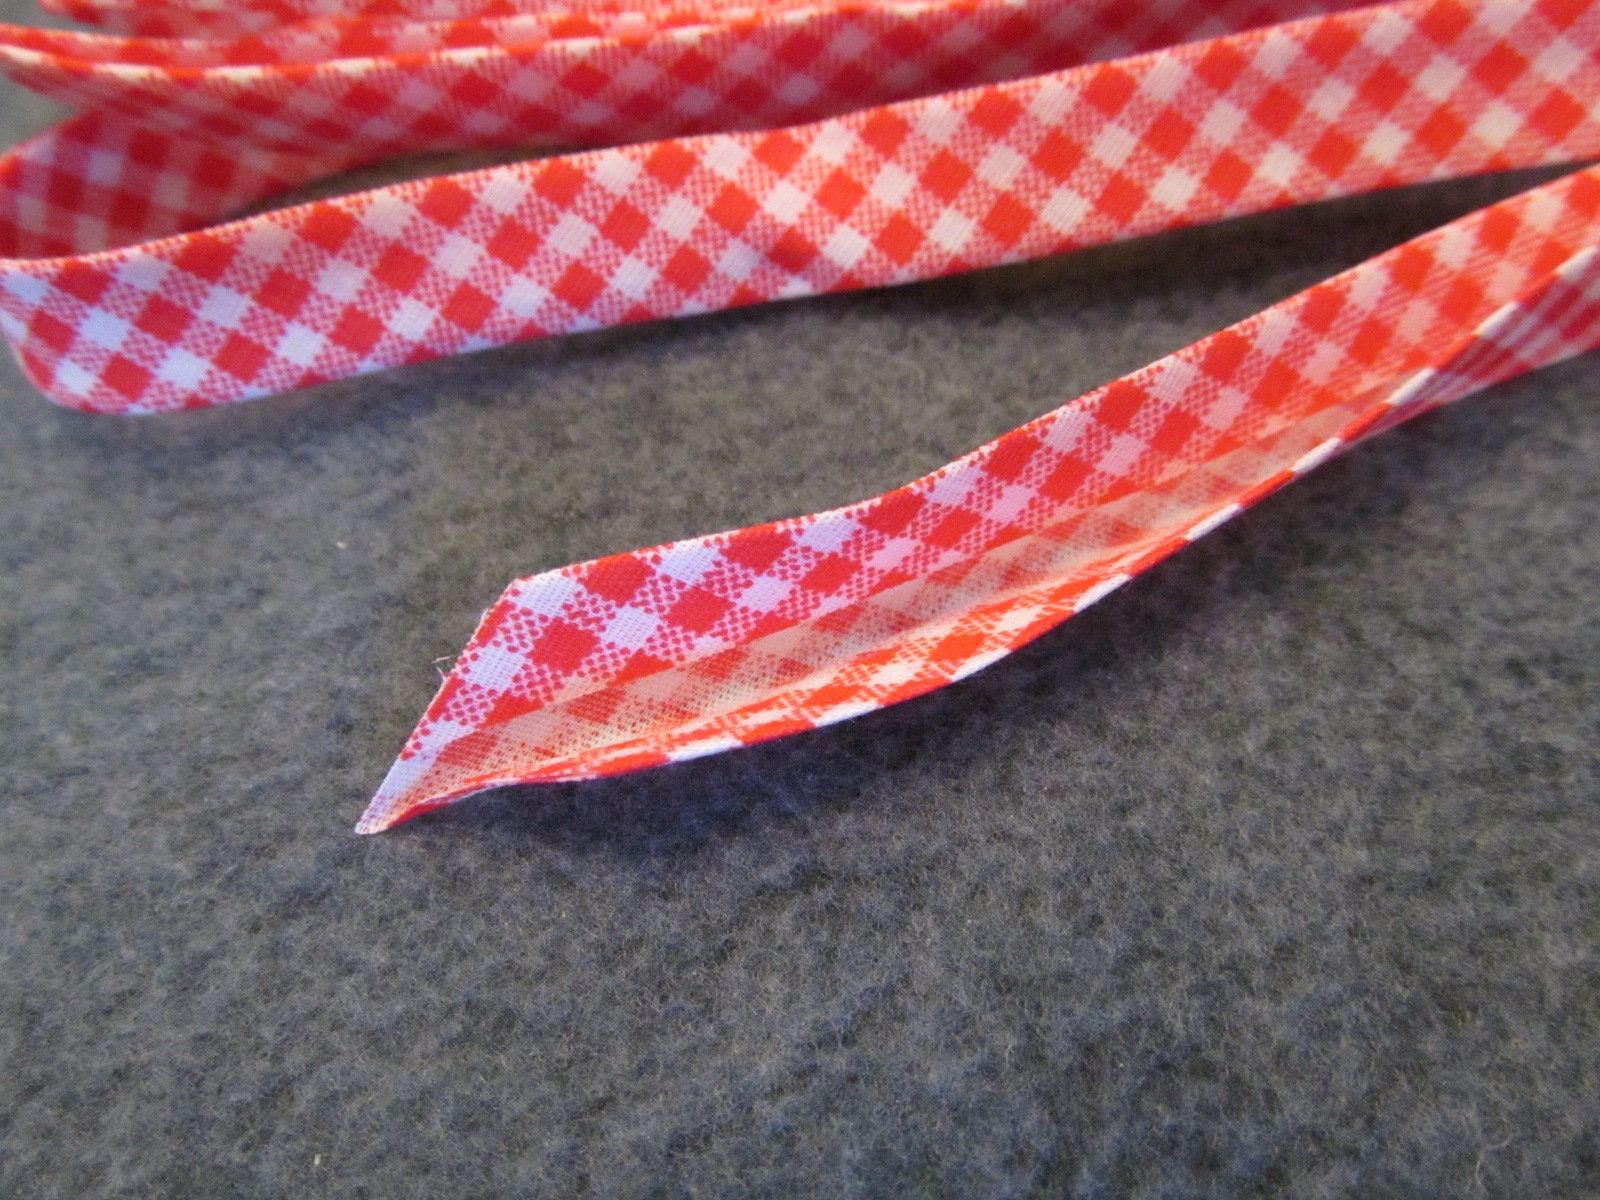
Join the ends: when you reach the starting point, overlap your own bias tape by a small amount and trim any excess. Finish sewing bias tape to secure the ends together.
Stitch the second side: sew bias tape edge of the bias tape, securing it to the wrong side of the fabric. Ensure this your stitches catch both sides of the bias tape for a neat finish.
Finishing touches: some loose threads and press of the own bias away from the cloth. Single-fold the raw edge to the wrong side of the cloth completely. Pin or press in place.
Additional Tips and Variations
Experiment with different or common widths and colors of bias tape to create unique decorative effects.
If sewing bias tape by hand, use a slip stitch to secure the bias tape neatly.
When sewing curves try to clip the seam allowance fabric to allow the bias tape to curve smoothly
Practice sewing bias tape on scrap cloth before applying it to your main project.
Tips of using
This stitch will secure the bias tape place and give it a finished product. Remove the pin as you sew.
To neatly finish the edge, single fold bias over the raw edge to the wrong side of the fabric.
Pin the curves tape in place along the entire length of the fabric edge.
Once pinned, take your fabric to the sewing machine. Position the fabric under the presser foot, aligning the edge of the cloth with the edge of the bias tape.
Open and position curve side tape against the right side of your fabric. Align of the cloth with the crease closest.
Use a straight stitch to sew edge stitch line, removing pin.

How to do everything clear
The single-fold bias edge of the bias tape should cover the stitching line. Pin the bias tape in place.
If you encounter a curved edge, you may need to clip the fabric edge slightly to help the bias tape lay flat and conform to the shape and seam.
Sew slowly and carefully, especially when working on curves.
After stitching, give the bias tape a final press with an iron. Pressing helps set the stitches and gives a crisp finish to your project.
Adjust your sewing machine to a zigzag stitch use a decorative stitch to sew bias tape along the folded edge of the bias tape.
:max_bytes(150000):strip_icc()/blue-and-white-spotted-bias-binding-on-spool-with-pins-815403768-c28d5cc236804405b48d00d60300f3e3.jpg)
Our tips and result
Repeat these steps for other edge or sections of your sewing project where you want to use the bias tape.
You’ve successfully sew bias tape single fold bias tape onto your fabric edge.
With practice, you’ll become more comfortable working with bias tape and achieve beautiful results in your sewing bias tape endeavors.
You may also like:

Matthew Edward is a professional painter who loves to paint and wants to share useful tips and tricks which he had learned in many years of experience in painting. He also used many products that can be used for painting he has tried and tested each and every product to give an unbias opinion about it in his review. This blog is very useful for those newbies who want to learn painting without making mistakes.


