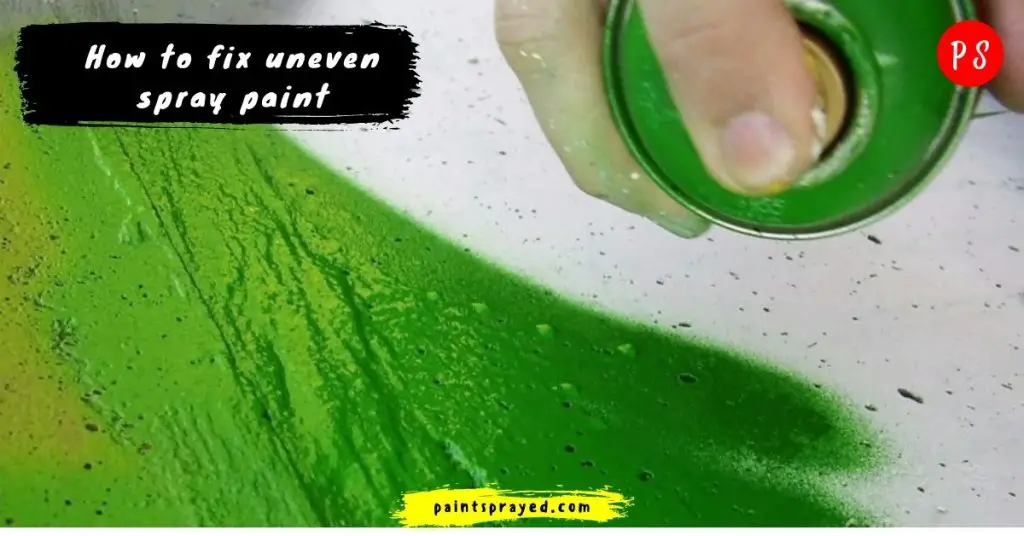
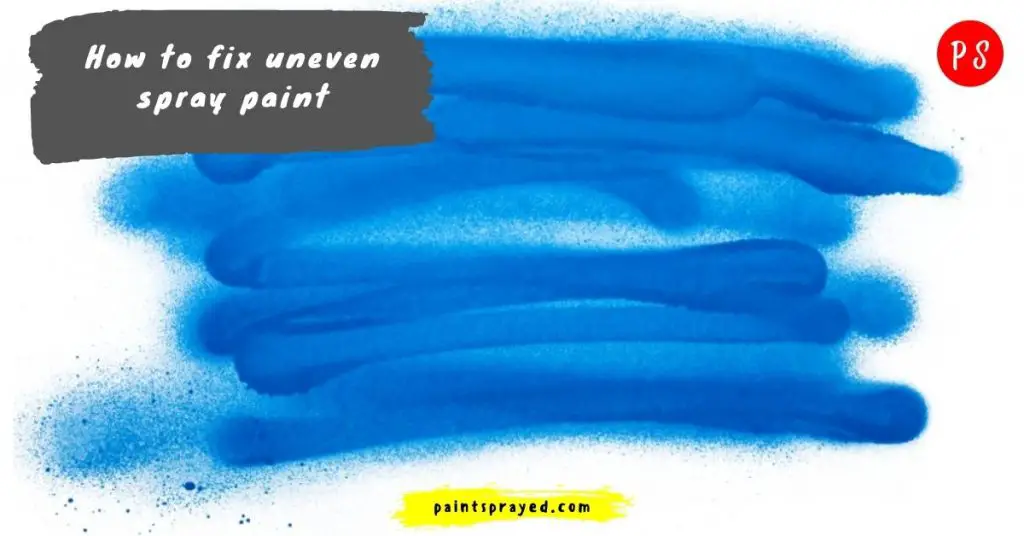
Today I have come up with a fix for unevenness caused by spray paints.
I know you guys have been suffering from this issue, but don’t worry anymore because I have come up with some pretty good fixes which will last longer for your spray paints.
Here is the complete guide I have written below on how to fix uneven spray paint. I am sure my newbie fellas will get assistance from this post.
If you’re new to spray painting, it can be intimidating and may seem near-impossible to produce even results. However, making mistakes doesn’t have to stop you in your tracks.
If you want to buy spray paint then you choose from these 3 best spray paint which I have used for many purposes.
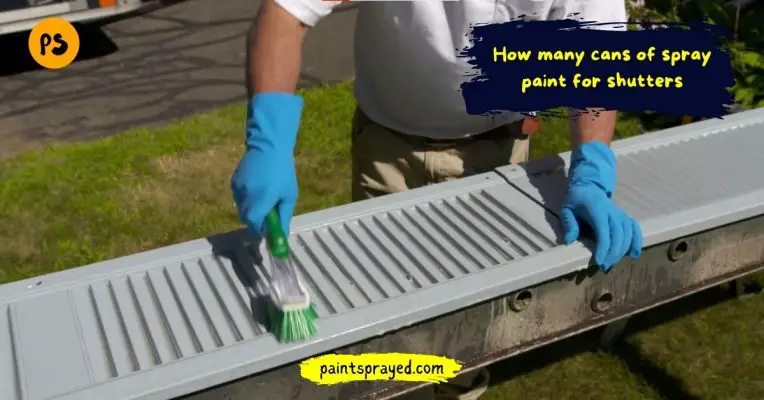
The Rust-Oleum 249127 is best for almost all surfaces like metal, wood, plastic, masonry, etc. I have used this spray paint for painting shutters and this was the best spray paint for shutters.
The second best spray paint is Krylon K05545007 which I used for vinyl shutters and I found it the best spray paint for vinyl shutters.
With the right know-how and a bit of patience, getting started with spray paint is much easier than it might seem at first glance.
Spraying with a paint gun can be tricky business indeed. We know all too well how many times we’ve come out with drips and dents that leave our projects looking like we’re novices at best!
We want you to know that these imperfections don’t have to stand: you can easily fix uneven spray paint by following this useful guide.
How do you fix uneven spray paint?
How to fix blotchy spray paint
Here is the complete guide to fixing blotchy spray paint which is not giving you the calming effect you want you to want to fix it immediately.
And in order to do this follow each step explained in this guide.
First of all, what is required to get to know about uneven spray paint job?
The first issue I would like to elaborate fish eyes issue then the other two:
Fish eyes
Tiny, circular imperfections are known as fish eyes. During the spray-painting process, it’s important that you take preventative measures to ensure water.
Or oils from your skin or tools do not reach the paint sprays in the airstream because your project surface might end up with these uneven spray paint flaws.
Orange peel
Just as its name implies, orangeness is an improper spray-painting effect caused by texture irregularities due to several factors.
Such as poor preparation of the spray gun, spraying at the wrong angle, excessive thinner evaporation, and applying too much paint.
Paint drips
Paint drips are often found on several objects, including buildings. This is typically the result of using the wrong type of paint thinner or too much thinner.
When this happens to a building, it’s usually fairly obvious that the owners used cheap paints and/or thinners – since there are wide-open splashes of paint on building surfaces all over the place.
Precautions to take to prevent the uneven issue
Now I will explain how you peeps can prevent these 3 issues of uneven spray paints which I defined earlier in my post so sit tight folks.
What are the Precautions to Prevent Orange Peel issues in spray paints?
There are many complexities to be aware of when shooting a surface with spray paint. Firstly, you have to match the correct type of paint to the object you plan on painting.
This means paying attention to the material density and any patterns or textures on your surface so you know which type of paint will work best.
For example, if you need to cover an outdoor fireplace with a glossy finish and there are crevices in the brickwork, then only certain brands and qualities of satin or gloss spray paint will do the trick.
Precautions to prevent paint drips from spray paints
If you want your paint job to turn out well, don’t skimp on quality. A cheap paint may save you a few dollars upfront, but it won’t cover as well and it’ll start flaking off within weeks of application.
While spraying, hold your sprayer at least 6 to 8 inches away from the surface to prevent puddles.
Don’t do one continuous spray; light coats work better for achieving full coverage with no brush strokes. Your best bet is 2 to 4 coats with a day or two drying time between each session.
Prevention for fish eye issue in spray paints
Painting a surface involves a lot of preparation – this means physically cleaning the surface, and taking time to consider one’s artwork.
And also preparing not only the paints and brushes, but getting materials like spray cans or spray guns, gloves, and paint buckets ready.
In order to prevent contamination by body oil, it is essential to wear latex gloves while painting.
One should stay safe while working with any tools they are using by keeping them leak-free to ensure proper use will not be hindered by sudden leaking.
Tools you need to fix uneven paint
- A Spray gun
- New paint (I recommend you Rustoleum for the strongest finish)
- A Respirator mask
- Cardboard piece for testing out the spray paint
- Drop Cloth to clean extra paint
- Sandpaper for rubbing the surface before painting
- Sanding block for sanding
- Wire brush for cleaning purposes
- Alcohol mixing with paint and cleaning purposes also
- Trisodium phosphate
If you need to repaint something, like the baseboard or wood paneling in your bedroom, for example, there are a few different things you can do depending on your needs.
If you are going to need to repaint an entire room or an area bigger than a couple of feet across, then it will probably be most helpful if you purchase a paint gun and some paint.
A paint gun is what’s typically used by professional painters because it sprays out a very even coat of paint and doesn’t require much skill.
Just press down the button when moving over the surface of whatever it is that you’re painting.
Guide to fixing uneven spray
Here I will explain each and every step to fix the uneven spray paint job. I am sure it will helpful for newbies out there who are struggling to get this issue fixed.

Process of surface preparation
The first thing to do when you want a polished look on your floors is surface preparation.
There are many ways to do this, but here are detailed steps for preparing any kind of surface in your home for finishing and applying appropriate stains or finishes.
For metal surface:
Use a rag to remove dust from the surface of your table. Remove any rust with a wire brush.
Sand down any loose wood. that you can see using sandpaper and make sure you adjust it according to the depth of the defect.
For plastics surface:
The first step in cleaning plastic is to give it as good a wipe-down as possible when you’re not actively using it. That means: – don’t play with your phone at the dinner table; –
if you’re in a meeting and have no need for any of your devices, put them away and make a point of getting anything up that’s on the table into your bag before you leave.
If you have some time to kill then why not try doing some basic vacuuming (after all, you might be surprised how much dust builds up over time!).
Wooden surface:
Preparing a wooden surface for fixing uneven paint used prior to new work is key every time. Fortunately, this doesn’t require skill but simply the use of some trisodium phosphate (TSP).
Which can be mixed with gallons of water or used undiluted and must not come into contact with any rubber, plastic, or painted surfaces.
Then you can use fine-grit sandpaper to wipe down the surface and remove any base coat texture and create a smooth surface for when your new paint is applied!
Pressure Adjustment & Testing the Gun for a paint job
If the finish to be sprayed is too thick or contains lumps, carefully thin it. Use a chip brush and paint thinner to work them down evenly through the entire mixture.
This will prevent a heavy film from forming on one portion of the material being sprayed as a result of an unthinned area.
The first coat should appear full and smooth (be sure not to over-spray), but it may not cover completely.
Maintaining proper distance:
There’s an old saying that applies to many different aspects of our lives: “The closer you are to a problem, the less likely it is that you’ll fix it.”
When spraying paint, you need to know how far away to hold the gun for different projects.
6-8 inches are typically the recommended distance for HVLP guns and 8-10 inches is the recommended distance from your surface when using a conventional gun.
Air-assisted airless sprayers can be used 10-12 inches away from the selected surface.
And airless air sprayers have high pressure which allows them to be sprayed 12-14 inches away from your painted surface.

Strategically set your position
When painting over a surface, make sure you are in the proper position to the height of the surface underneath your paint job. This will help you achieve an even coat over the given surface.
If you notice that your spray is not coming out how you want it, try moving your entire arm sideways (like horizontally) rather than just moving your wrist.
That way, you’ll get even coverage every time; every speck of dirt, every jagged edge is covered properly as opposed to a product.
That looks like someone was splattered with orange paint by a giant’s toddler.
Starting the painting process
To fix uneven paint, first, make sure you don’t start spraying directly at the surface. You should start spraying off to the side of the surface and then glide your arm toward the targeted area.
Once you’re at the targeted area; don’t stop gliding and spraying at the edge of the surface. Paint past it instead!
To maintain a straight linear glide, don’t move your arm in big side sweeping movements.
Instead, try to keep it in straight lines across as many surfaces as possible.
Also, try to make all coats thin rather than thick coats because that way you’ll be able to wash out any mistakes you made much easier before they become permanent!
Don’t forget that paint takes time to dry so plan accordingly when working with textured walls where it will take longer for it to dry than smooth paper or plastic surfaces!
Make sure you have the correct paint color to start with before painting. Spray up some coats then follow with a layer of polyurethane for complete and even coverage.
You can opt for a gloss, semi-gloss, or matte finish depending on your preference for a hard, solid, clear coat.
Doing a final checkup for touchups
Doing the final inspection and touch-ups is important to making sure your paint job ends up looking great.
Sometimes you’ll miss spots or drips, so it’s a good idea to clean them up using a dry cloth or fine-grit sandpaper, depending on what you end up discovering.
Once everything looks like it’s in place and not messy, you can apply your last coat of spray paint until it looks even and smooth.
(If the look is uneven again after carrying out this touchup step, check your painting supplies inventory for anything running low.
Or indicators that getting new supplies might be helpful instead of going through this extra step again.)
Now after completing the cleaning process of the equipment
Cleaning Your Equipment: The final step is to clean up your spray gun. While you wash off any excess paint, utilize the time to disassemble and really get a good look at how the device works.
After washing everything down, inspect your nozzle for any holes or blockages. If there are none, examine the trigger mechanism and ensure that all parts are properly set and secured.
Before you re-assemble your equipment, read through your spray gun’s user manual (if it came with one) for some last-minute refreshers about what things need lubricating.
And where so that you can do a good job cleaning them before storing the equipment away.
How do you fix spray paint imperfections?
There are several ways to fix spray paint imperfections, depending on the type and severity of the issue. Here are some options:
- Sand the area lightly with fine-grit sandpaper to smooth out any bumps or drips.
- Use a paint scraper or putty knife to carefully remove any drips or excess paint.
- Use a small brush or a cotton swab to touch up small areas or to blend the paint into the surrounding surface.
- If the paint is thin or uneven, you can apply a second coat of spray paint to even out the finish.
- If the paint is too thick or has a rough texture, you can try thinning it with a small amount of water or mineral spirits and then applying a second coat.
It’s important to remember to always follow the manufacturer’s instructions when using spray paint, and to use proper safety precautions such as wearing a mask and protective eyewear.
How do you fix an uneven spray paint coat?
There are several ways to fix an uneven spray paint coat:
- Sand the area lightly with fine grit sandpaper to smooth out any bumps or drips.
- Use a paint scraper or putty knife to carefully remove any drips or excess paint.
- Use a small brush or a cotton swab to touch up small areas or to blend the paint into the surrounding surface.
- If the paint is thin or uneven, you can apply a second coat of spray paint to even out the finish. Be sure to follow the manufacturer’s instructions for proper application, and allow the paint to dry completely before handling or using the item.
- If the paint is too thick or has a rough texture, you can try thinning it with a small amount of water or mineral spirits and then applying a second coat.
It’s important to remember to always follow the manufacturer’s instructions when using spray paint, and to use proper safety precautions such as wearing a mask and protective eyewear.
How do you fix blotchy spray paint?
There are a few ways you can try to fix blotchy spray paint:
- Sand the surface lightly with fine grit sandpaper (around 220 grit) to smooth out any unevenness. Wipe off any dust with a damp cloth.
- Apply a second coat of spray paint, making sure to use thin, even strokes and keeping the can the same distance from the surface at all times. This can help even out the appearance of the paint.
- If the blotchiness is severe, you may need to completely remove the paint and start over. Use a paint stripper or sand the surface down to the bare material and start again, making sure to follow proper painting techniques.
- If the blotchiness is due to a texture or pattern on the surface, you may need to use a different application method, such as a paintbrush or roller, to get a more even finish.
In general, it’s important to make sure the surface you are painting is clean and dry, and that you are using the right type of paint and application method for the surface you are working on.
Properly preparing the surface and using thin, even strokes can help prevent blotchiness when spray painting.
FAQ’s of How to Fix Uneven Spray Paint
Conclusion on How to Fix Uneven Spray Paint
It’s all too easy to end up with an uneven result when using spray paint. You can get blotches and drips that ruin the overall look of your piece.
It’s a common problem but thankfully, it’s a simple process to fix it. I hope you got your answer to the query of How do you fix uneven spray paint.
We hope that you’ve found this guide useful. If you have any other questions, don’t hesitate to contact us anytime. Let us know in the comments section if you have any queries.

Matthew Edward is a professional painter who loves to paint and wants to share useful tips and tricks which he had learned in many years of experience in painting. He also used many products that can be used for painting he has tried and tested each and every product to give an unbias opinion about it in his review. This blog is very useful for those newbies who want to learn painting without making mistakes.


