Campbell Hausfeld paint sprayers are known for their durability and efficiency in delivering a smooth and even coat of paint.
However, just like any other tool, they require regular maintenance to ensure their optimal performance.
In this article How to clean campbell hausfeld paint sprayer, we will provide a step-by-step guide on how to clean a Campbell Hausfeld paint sprayer.
How to clean campbell hausfeld paint sprayer?
Step 1: Prepare the Equipment
Before starting to clean your Campbell Hausfeld paint sprayer, it is important to gather all the necessary equipment.
You will need a bucket of warm soapy water, a cleaning brush, a lint-free cloth, and a cleaning solution suitable for paint sprayers.
You can find a paint sprayer cleaning solution at most hardware stores or online retailers.
Step 2: Disassemble the Paint Sprayer
The first step in cleaning your Campbell Hausfeld paint sprayer is to disassemble it. Start by unplugging the power cord from the electrical outlet to prevent any accidents.
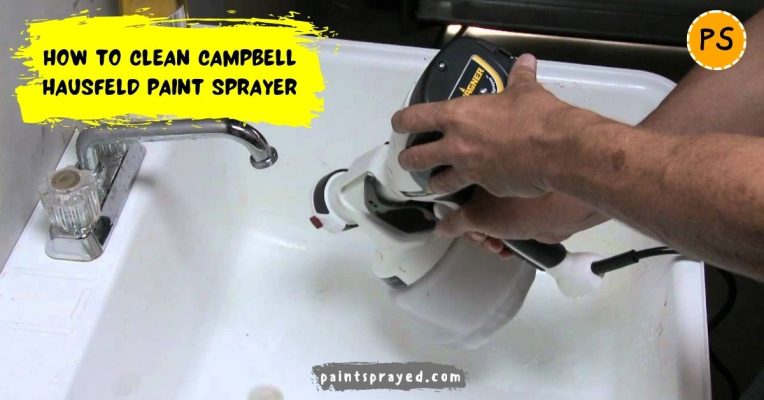
Remove the nozzle, spray gun, and any other detachable parts from the sprayer.
Step 3: Clean the Nozzle
The nozzle is one of the most crucial parts of the Campbell Hausfeld paint sprayer as it is responsible for delivering the paint.
Therefore, it is important to clean it thoroughly. Start by removing any excess paint or debris from the nozzle using a cleaning brush.
Then, soak the nozzle in the cleaning solution for 30 minutes. Afterward, use the brush to scrub the nozzle gently to remove any remaining paint or debris.
Rinse the nozzle with warm water and dry it with a lint-free cloth.
Step 4: Clean the Spray Gun
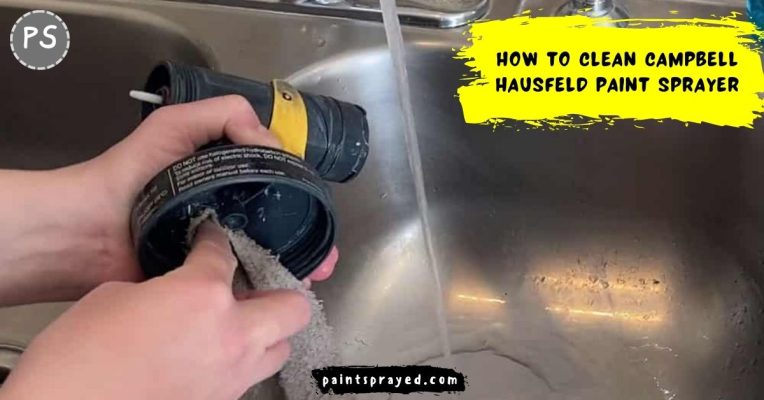
The spray gun is another essential component of the Campbell Hausfeld paint sprayer. To clean it, first, remove the paint cup and clean it with warm soapy water.
Then, take the spray gun apart and soak it in the cleaning solution for 30 minutes.
After that, use a brush to scrub the gun gently to remove any remaining paint or debris. Rinse the gun with warm water and dry it with a lint-free cloth.
Step 5: Clean the Filters
The filters in your Campbell Hausfeld paint sprayer are responsible for trapping debris and preventing it from clogging the sprayer.
Therefore, it is important to clean them regularly. To clean the filters, remove them from the sprayer and rinse them with warm soapy water.

Use a brush to scrub the filters gently to remove any remaining paint or debris. Rinse the filters with warm water and let them dry completely before putting them back into the sprayer.
Step 6: Clean the Hose
The hose is another critical component of the Campbell Hausfeld paint sprayer. It is responsible for transferring the paint from the sprayer to the nozzle.
To clean the hose, first, detach it from the sprayer and nozzle. Then, flush it with warm soapy water, and use a cleaning brush to scrub the inside of the hose gently.
Rinse the hose with warm water and let it dry completely before reattaching it to the sprayer and nozzle.
Step 7: Reassemble the Paint Sprayer
After cleaning all the components of your Campbell Hausfeld paint sprayer, it is time to reassemble it. Start by reattaching the filters, followed by
After cleaning all the components of your Campbell Hausfeld paint sprayer, it is time to reassemble it. Start by reattaching the filters, followed by
the spray gun and the paint container.
Here are the steps to reassemble your Campbell Hausfeld paint sprayer:
Before using your paint sprayer, it is recommended to test it with water or paint to ensure it is working correctly.
- Place the filter back into the suction tube, making sure it is securely in place.
- Attach the suction tube back onto the paint container, making sure it is tightly fastened.
- Reattach the spray gun to the paint container, making sure it is securely in place.
- Screw the spray tip back onto the spray gun, making sure it is tightly fastened.
- Reattach the air hose to the air inlet on the sprayer, making sure it is securely in place.
- Finally, plug the power cord into an electrical outlet.
Start by spraying onto a scrap piece of cardboard or a test surface to check the spray pattern and adjust the settings if necessary.
How to use a campbell hausfeld paint sprayer
Using a Campbell Hausfeld paint sprayer can help you achieve a smooth and even paint application on a variety of surfaces. Here are some general steps to follow:
- Preparation: Before you start, make sure you have all the necessary equipment, including a Campbell Hausfeld paint sprayer, the correct nozzle, a paint container, and the paint itself. Also, prepare the surface you plan to paint by cleaning it and covering any nearby objects that you don’t want to get paint on.
- Set up the sprayer: Attach the appropriate nozzle to the sprayer and adjust the spray pattern to match the surface you’re painting. Fill the paint container with the paint you’re using, making sure not to overfill it.
- Test spray: Before you start painting, test spray on a piece of cardboard or scrap material to ensure the paint is flowing properly and the nozzle is adjusted correctly.
- Start painting: Once you’re confident the sprayer is working correctly, begin painting the surface with a consistent, steady motion. Keep the sprayer about 6-8 inches away from the surface and move in a back-and-forth motion, overlapping each pass slightly.
- Clean up: After you’re done painting, clean the sprayer thoroughly according to the manufacturer’s instructions. This usually involves removing any remaining paint from the container, flushing the sprayer with water or cleaning solution, and disassembling and cleaning the nozzle.
Always follow the manufacturer’s instructions when using a Campbell Hausfeld paint sprayer, as specific steps may vary depending on the model and type of sprayer you’re using.

How to repair campbell hausfeld airless paint sprayer
Repairing a Campbell Hausfeld airless paint sprayer will depend on the specific issue you are experiencing. Here are some general steps to troubleshoot and repair common problems:
- Check the manual: Before attempting any repairs, refer to the user manual to identify the specific problem and recommended solution.
- Clean the sprayer: Many issues with airless paint sprayers can be resolved by cleaning the sprayer. Disconnect the sprayer from the power source and remove the spray tip and filter. Clean these parts thoroughly with warm soapy water, rinse, and dry.
- Check the hose: If the sprayer is not working, check the hose for any cracks or leaks. If there are any leaks, replace the hose.
- Check the motor: If the sprayer is not turning on, check the motor. Make sure it is connected to a power source and the switch is on. If it is still not working, try resetting the thermal overload switch. If that doesn’t work, the motor may need to be replaced.
- Check the spray tip: If the sprayer is spraying unevenly or not at all, check the spray tip. It may be clogged or worn out. Clean or replace the spray tip as needed.
- Check the pressure: If the sprayer is not spraying at the correct pressure, check the pressure control knob. Adjust it to the correct setting.
If you are not comfortable with making these repairs, it is best to contact a professional. Campbell Hausfeld may also offer repair services for their products.
Summary of How to clean campbell hausfeld paint sprayer
In conclusion, cleaning your Campbell Hausfeld paint sprayer is a crucial part of maintaining its performance and extending its lifespan.
A clean sprayer will ensure that paint flows smoothly, reduces the risk of clogs and blockages, and prevents damage to the internal components.
While cleaning the paint sprayer can seem like a daunting task, it is a straightforward process that anyone can do with the right tools and approach.

Matthew Edward is a professional painter who loves to paint and wants to share useful tips and tricks which he had learned in many years of experience in painting. He also used many products that can be used for painting he has tried and tested each and every product to give an unbias opinion about it in his review. This blog is very useful for those newbies who want to learn painting without making mistakes.


