When it comes to painting a wall, the first step is always to apply primer. Primer is a base coat that helps paint adhere to the surface.
Provides a uniform base for the paint, and also helps hide any imperfections in the wall. But how should primer look on a wall?
Well, the answer to that question depends on the type of primer being used and the surface being painted.
How should primer look on a wall?
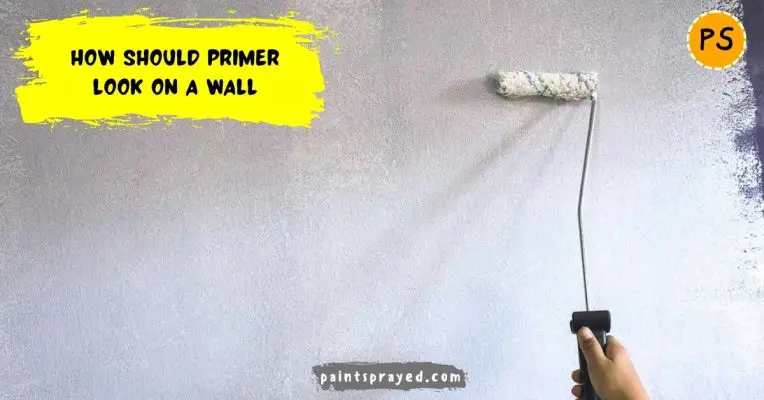
Generally speaking, primer should be evenly applied to the wall in a thin and consistent layer, leaving no noticeable brush marks or drips.
The color of the primer should be similar to the final paint color, but it doesn’t have to be an exact match.
The goal of the primer is to create an even surface for the paint to adhere to, so as long as the primer is applied correctly, the final paint color should look uniform.
It is also important to note that some primers are formulated for specific surfaces and may have a different appearance when applied.
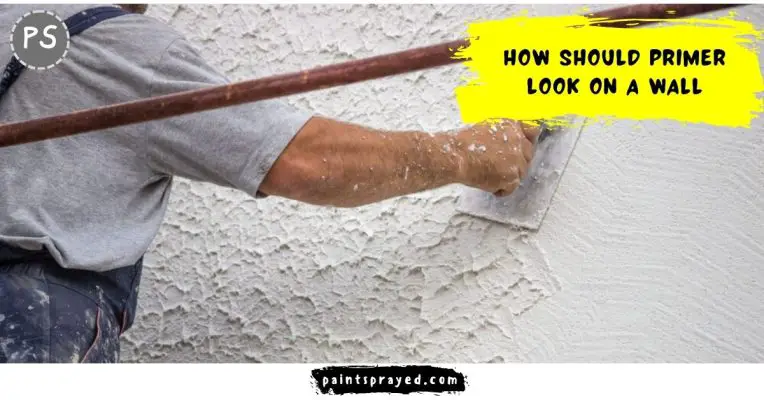
For example, a high-build primer may appear thicker and have a more textured look, while a stain-blocking primer may have a slightly milky appearance.
To ensure that primer looks as it should on a wall, it is important to follow the manufacturer’s instructions and apply it in the recommended manner.
Primer look on wall
Primer is an essential step in the painting process as it prepares the wall surface for the final paint and helps to achieve a smooth and uniform finish.
However, it is important to understand what primer should look like on a wall to ensure that the painting job is done correctly.
The appearance of primer can vary depending on the type of primer used, the surface being painted, and the application technique.
In this article, we will take a closer look at how primer should look on a wall and what to look for to ensure that the surface is ready for painting.
To begin, let’s understand the purpose of primer. Primer serves several important functions, including:
- Improving adhesion: Primer helps the paint adhere to the wall surface by providing a uniform base for the paint to cling to.
- Hiding imperfections: Primer can help hide any cracks, dents, or other imperfections in the wall surface by filling in any gaps and providing an even surface for the paint.
- Sealing the surface: Primer can seal porous surfaces, such as drywall, to prevent paint from soaking into the wall and to improve the final finish.
- Providing a uniform base: Primer helps to ensure that the final paint color will be consistent by providing a uniform base for the paint.
Now that we understand the purpose of primer, let’s take a closer look at what primer should look like on a wall.
In general, primer should be evenly applied to the wall in a thin and consistent layer, leaving no noticeable brush marks or drips.
The color of the primer should be similar to the final paint color, but it doesn’t have to be an exact match.
The goal of the primer is to create an even surface for the paint to adhere to, so as long as the primer is applied correctly, the final paint color should look uniform.
It is important to note that some primers are formulated for specific surfaces and may have a different appearance when applied.
For example, a high-build primer may appear thicker and have a more textured look, while a stain-blocking primer may have a slightly milky appearance.
To ensure that primer looks as it should on a wall, it is important to follow the manufacturer’s instructions and apply it in the recommended manner.
When it comes to applying primer, it is important to use the right tools.

For best results, it is recommended to use a paintbrush, roller, or sprayer, depending on the type of primer and the surface being painted.
For example, a paintbrush is best for small areas, while a roller is best for larger surfaces.
A sprayer can be used for both small and large areas, but it is important to use the right type of sprayer for the type of primer being used.
When applying primer, it is important to work in small sections and to keep a wet edge to ensure that the primer is evenly applied.
The primer should be allowed to dry completely before applying the final paint. The drying time will vary depending on the type of primer used, but it is usually between 2 to 4 hours.
Is primer supposed to look patchy?
It depends on the type of primer and the desired finish. Some primers are designed to look patchy as they are meant to provide a base for textured or porous surfaces, such as stucco or brick.
These primers will typically have a thicker, more heavy-bodied consistency that allows them to grip the surface and hide imperfections.
Other primers are designed to be used as a base coat for a smooth finish, in which case they should be applied evenly and without any visible brush strokes.
If your primer is patchy, it may mean that it was not applied evenly or that the surface was not properly prepared before application.
How should primer look when applied?
When properly applied, primer should have an even and uniform appearance. It should cover the surface completely, without leaving any visible brush strokes, bubbles, or gaps.
The surface should look smooth and consistent, without any patchiness or visible texture. The color of the primer should also be even, without any visible spots or streaks.
This will ensure that the primer provides an optimal base for the subsequent paint or finish, allowing it to adhere properly and look smooth and even.
Do you need 2 coats of primer?
Whether you need two coats of primer depends on several factors, including:
- The type of primer: Some primers are formulated to provide adequate coverage in a single coat, while others may require multiple coats for optimal results.
- The surface: The condition and texture of the surface will also affect how much primer is needed. Rougher or more porous surfaces may require additional coats of primer to fill in any gaps or imperfections.
- The final finish: The desired finish will also play a role in how much primer is needed. For example, if you are using a dark paint color, you may need to use two coats of primer to ensure that the final color is even and consistent.
In general, it is a good practice to use two coats of primer when painting a new surface, especially if the surface is in poor condition.
This will ensure that the primer adheres properly and provides a solid base for the final finish.
Additionally, if you are using light-colored paint, two coats of primer will help prevent any underlying colors or stains from bleeding through the final coat.
Should primer completely cover color?
The primary purpose of primer is to provide a smooth, uniform surface for the paint to adhere to, not necessarily to completely cover the color of the surface underneath.
However, some primers have the ability to conceal underlying colors or stains, depending on the type and opacity of the primer.

If you are trying to cover a noticeable color or stain, you may want to choose a primer specifically designed for this purpose, such as a stain-blocking primer.
These primers are formulated with a higher opacity to help conceal stubborn stains and provide a more even base for the final paint.
In general, it is important to choose the right primer for the job, as using the wrong type of primer can result in poor adhesion, and poor hiding.
Or other issues that can affect the final appearance of the painted surface.
Conclusion on How should primer look on a wall
In conclusion, primer is an essential step in the painting process and it is important to understand what primer should look like on a wall.
The primer should be evenly applied to the wall in a thin and consistent layer, leaving no noticeable brush marks or drips.
The color of the primer should be similar to the final paint color, but it doesn’t have to be an exact match.
When applying primer, it is important to use the right tools, work in small sections, and allow the primer to dry completely before applying the final paint.
By following these guidelines, you can ensure that your primer will look

Matthew Edward is a professional painter who loves to paint and wants to share useful tips and tricks which he had learned in many years of experience in painting. He also used many products that can be used for painting he has tried and tested each and every product to give an unbias opinion about it in his review. This blog is very useful for those newbies who want to learn painting without making mistakes.


